


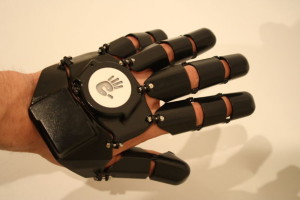
Making a 3D-printed, wearable cell phone glove.
I love people that make stuff! Not just buy things but build!! Especially when it involves hacking electronics, DIY software and hardware. For more info about that
VIEW FULL DETAILS AT https://bryancera.com.
Step 1
This isn’t for your 1 hour project guys this is for those of you that want to invest an hour a day for 6-8 weeks. This is the real deal!.
– masking tape
– electrical tape
– shrink tubing
– surface-mount tactile switches
– custom 3D print (see ‘Step 6: Digital Fabrication’)
– sheet metal components (if you don’t cut your own)
– micro nuts and bolts
– extension springs
– a used or new cell phone
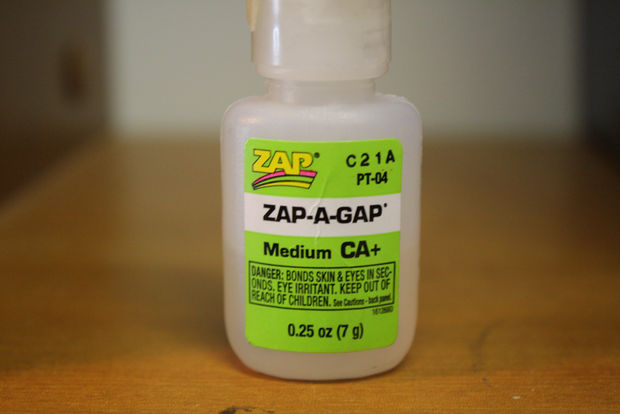
– zap-a-gap epoxy
– plastic-bond spray paint
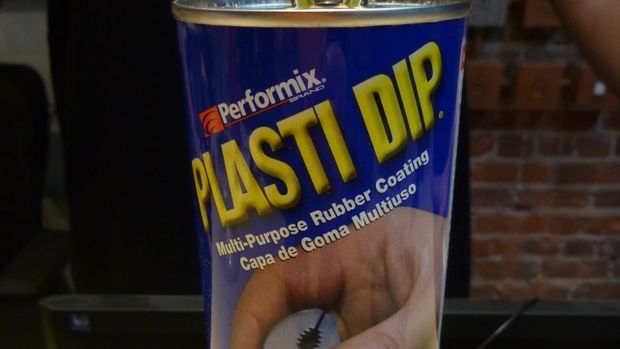
– plasti-dip
– 3in x 3in x .06in PETG Sheet Plastic
– 3in x 3in x .06in Acrylic Sheet Plastic
– .5in x .5in copper foil OR copper foil tape
Tools you need
– digital camera OR scanner
– soldering iron
– heat gun
– small screwdriver
– exacto knife
– 600, 600, and 1200 grit wet-or-dry sandpaper
– tweezers
Optional but not needed
– manilla folders
– short wooden dowels
– reusable poster adhesive
– de-soldering wick
– all-purpose cleaning agent
– sanding sticks
– dremel tool
– vinyl plotter
– CnC mill (if you plan to cut your own metal components –
BE SAFE gloves safety glasses!
Step 2A Plan
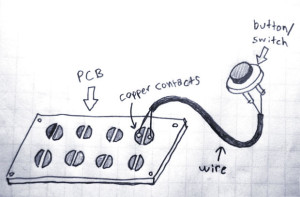
Hacking a phone 10 times easier
hacking an existing phone is fun due to button extensions. This technique is VERY simple and can be used to make fun interactions with all kinds of electronic devices. Pop open the device,take out existing switches, solder wires to the copper-clad leads, and solder your own buttons/switches to the other ends of the wires. .
As a demonstration here is a NES controller hack video great guy to!:
This method of hacking an existing device is the foundation of the project Use it for “extending” buttons from the phone’s circuit board to your fingers, and for the microphone and speaker of the phone.
Robot like is better then plain old fabric right???
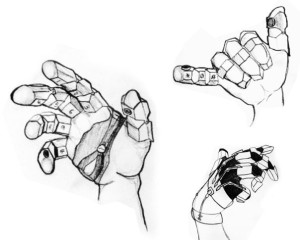
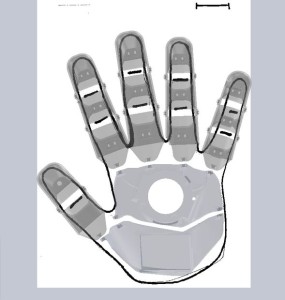
Step 3Creating a paper blueprint
Don’t make a different pattern for each finger,use a photocopier to rescale the same pattern, then select different sizes for each finger. The paper prototype is really just the first step in creating the virtual model of the phone.
Step 4Selecting materials and components.
Did you know that the Mk. IV and Mk. V armor gloves from Iron Man 2 were actually 3D Printed.
3D-printing technology is the way to go to get the futuristic robot look
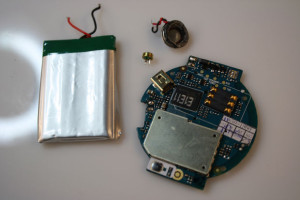
To save you looking at 1000 phones just get the Burg Watch Phone It is small, had tactile buttons, and functionality is perfect for the project
Just re-use the plastic button-caps from the phone , also use the battery, speaker, and microphone.
NOW surface-mount button switches, tiny extension springs, and micro-bolts just get from Amazon!!
Step 5Drawing the virtual model.
To build a virtual model for this project,you will need a CAD modeling environment. There’s a wide variety of software packages to pick from, including AutoCad, Rhino, or Solidworks.
Now draw each of the parts. “Digitizing” the paper prototype of the glove. Using a digital caliper, which quickly and accurately measures dimensions and angles, input the geometry of your paper model into digital part files on the computer. CAD software allows you to use actual units of measurement to define the parameters of the model -USE INCHES
Draw the top and bottom of the paper finger Then use a feature called “shell” to hollow them, and “fillets” to round corners and smooth surfaces.
Same thing for the phone circuit, hardware, and electrical components, You can create a couple of parts to be cut out of sheet metal
Create only one glove finger, and alter copies of it for the rest of the fingers. Because the external components all need to fit the same way design a “parametric” model of the finger. Here’s a video to demonstrate how these parametric components work:
To make sure it fits add an image of your hand to the CAD model.
A benefit of designing the fingers this way is that the glove could be easily modified to fit hands of different sizes.
Along with the STL files of the glove upload solidworks files to be modified and scaled, so that one parametric model fits all! This explains that.
If you have basic understanding of how to use Solidworks, you could quickly customize your own Glove One CAD model.
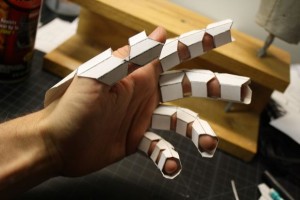
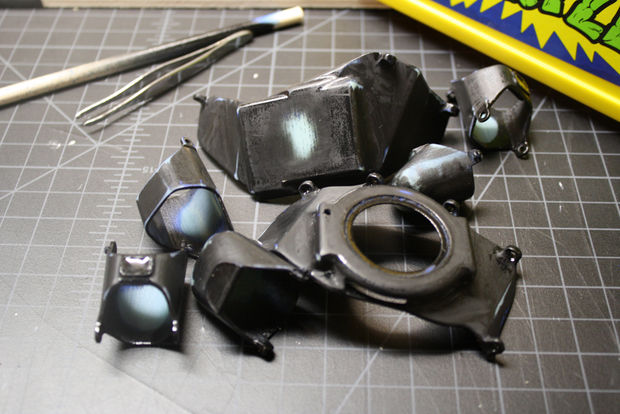
Step 6Digital fabrication.
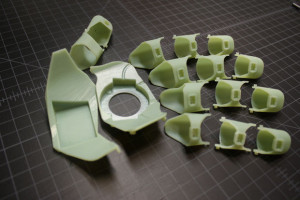

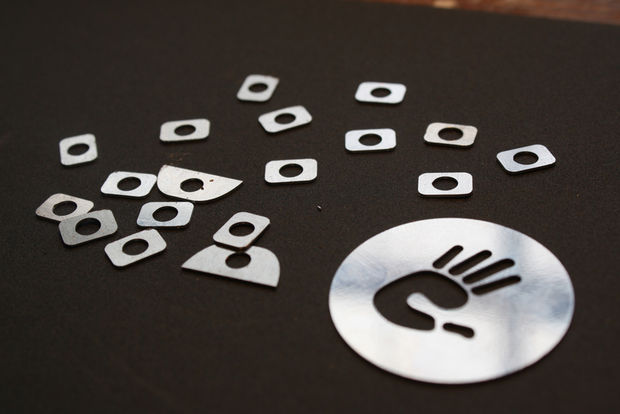


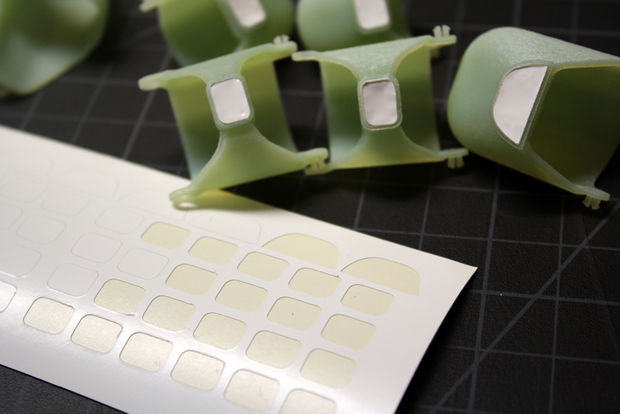
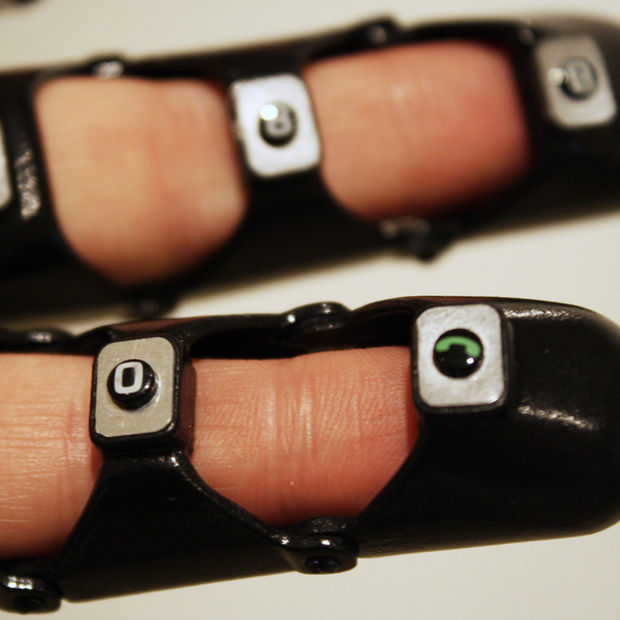
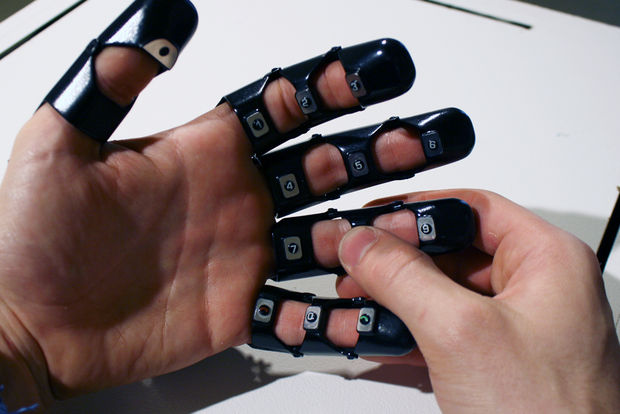
The 3D-printed components include two “plates” for the back of the hand -these hold the cell phone circuit and battery – and the finger segments – the buttons for dialing the phone as well as the phone’s microphone and speaker.
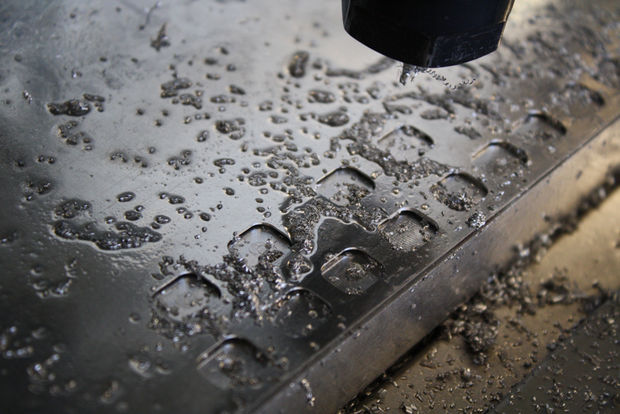
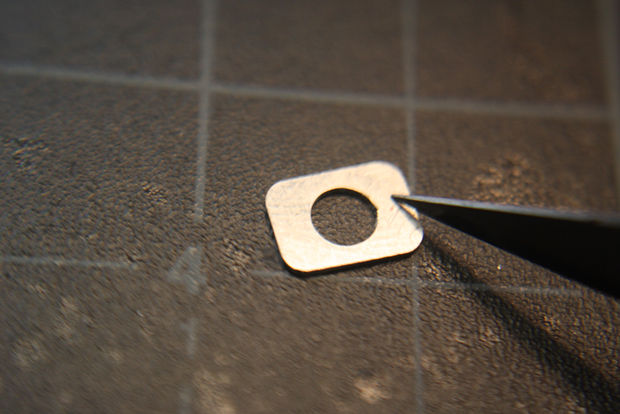
For some other components, like the metal plates that fit over the finger buttons,. If you don’t have access to a CNC mill, Ponoko offers it for cutting custom designs out of stainless steel sheet metal.
Can use a laser-cutter to create the back cover which holds the circuit and wires in the upper hand plate.
For 3D prints simply save CAD models as STL files.. This is a simplified geometric model that 3D-printing software can cut into many little slices to be printed.
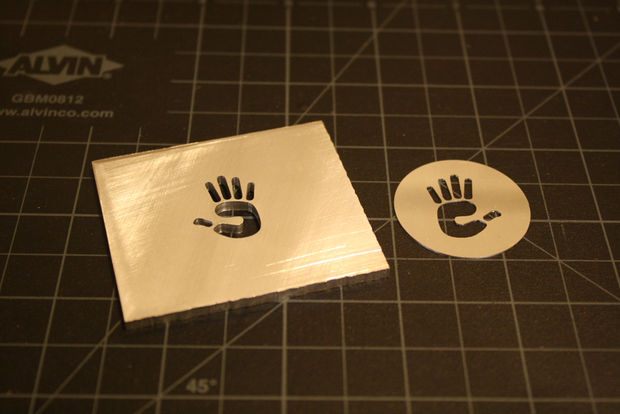
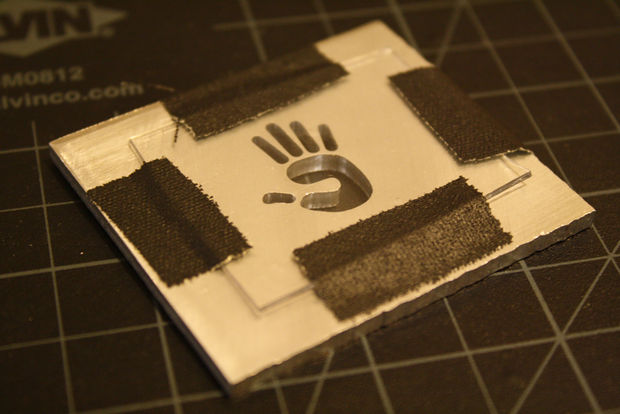
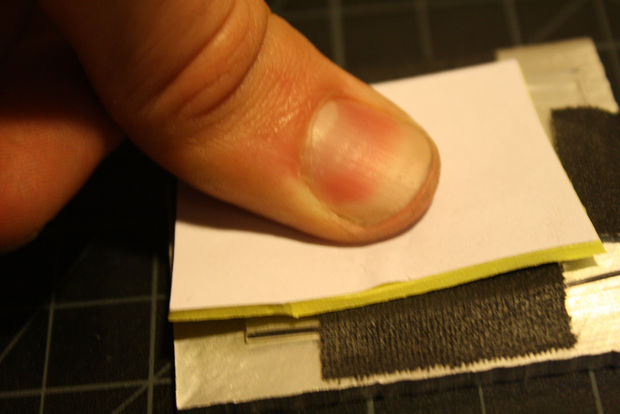
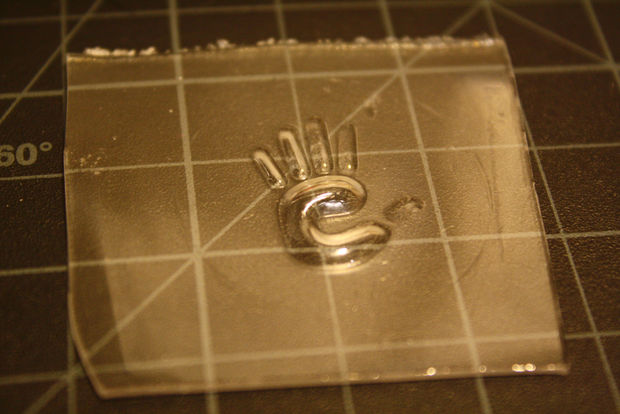
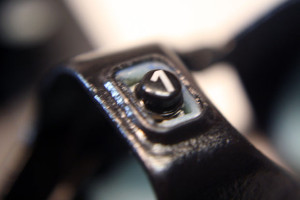
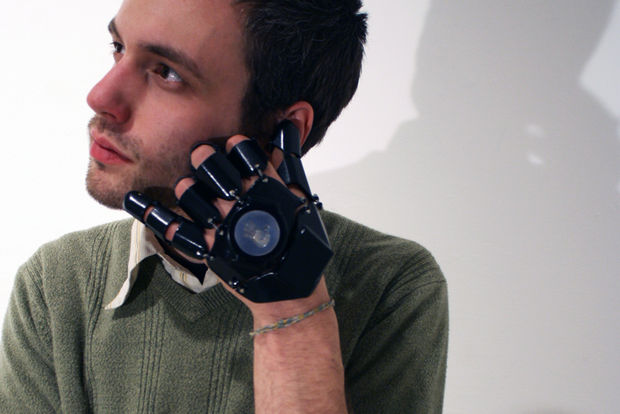
The last component is the backlit “hand logo” for the back of the hand plate. LEDs prob on the phone’s circuit, so use those to make a illuminated logo,
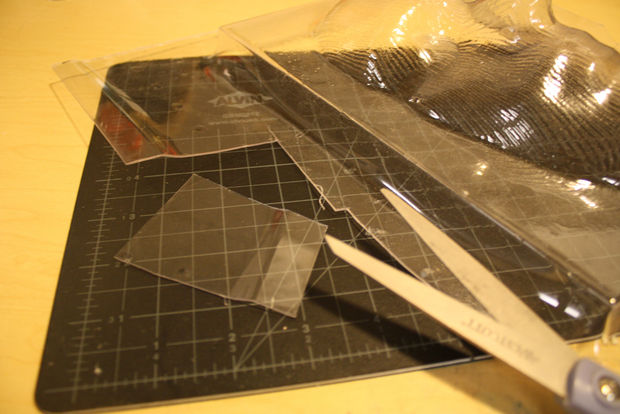
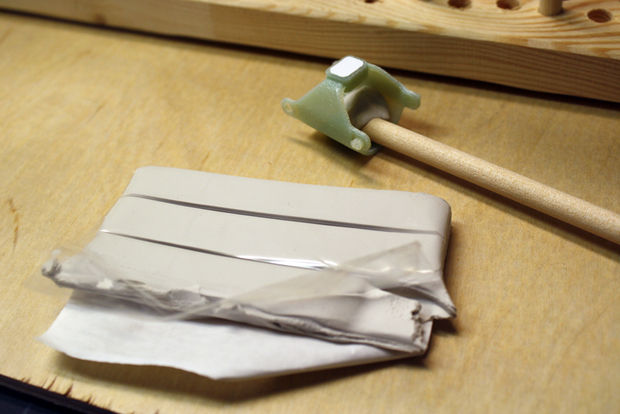
Thick piece of aluminum, and using a scrap of PETG plastic It is as simple as taping the plastic over the aluminum die, softening it up with a heat gun, and using a piece of craft foam to push the softened PETG into the die.
The rest are either ordered online, or come from the cell phoneyou hacked open Now you have all the parts!!
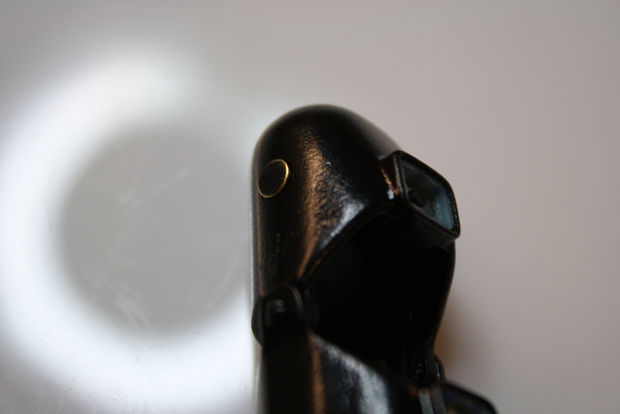
Step 7Painting and finishing.

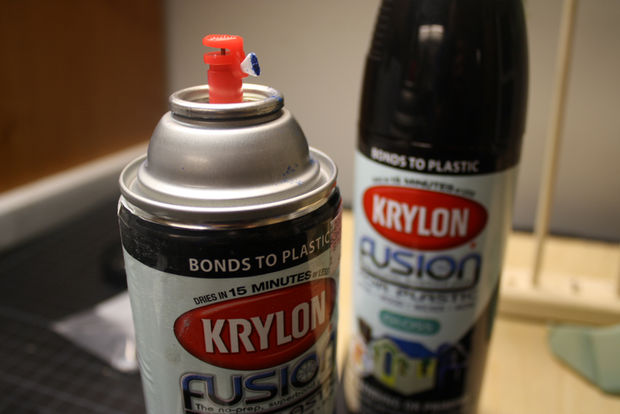


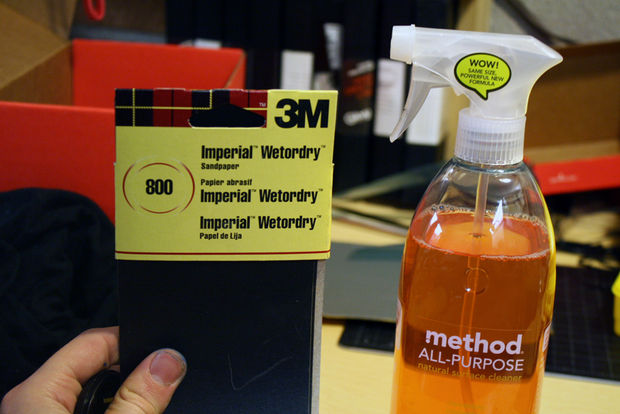
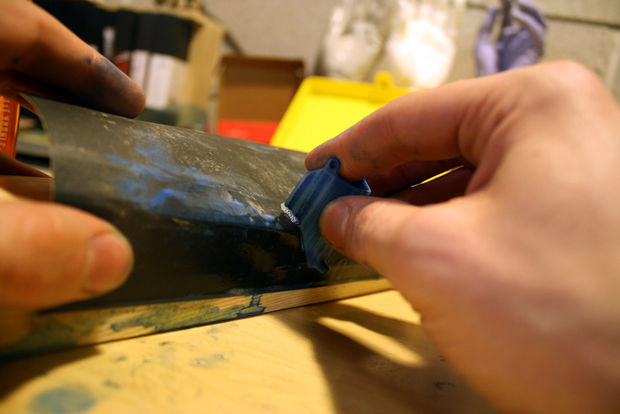


Use a paint that is formulated specifically for bonding to plastic.
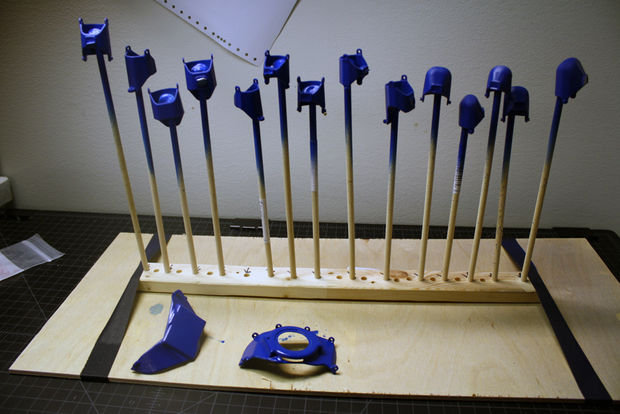
Start by painting all of the pieces in your color (bright blue) that you can tell the difference from the final color (black). A lot of sanding will be required to make the finish shiny and smooth.
1200 grit sand paper and do this process (paint, sand, paint, sand, paint!) several times to get a nice finish. After 4 or 5 cycles of sanding and painting,you will have a shiny finish!
Step 8Wiring the glove.

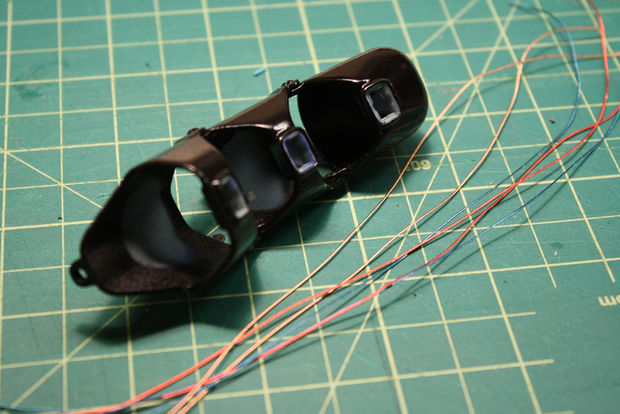
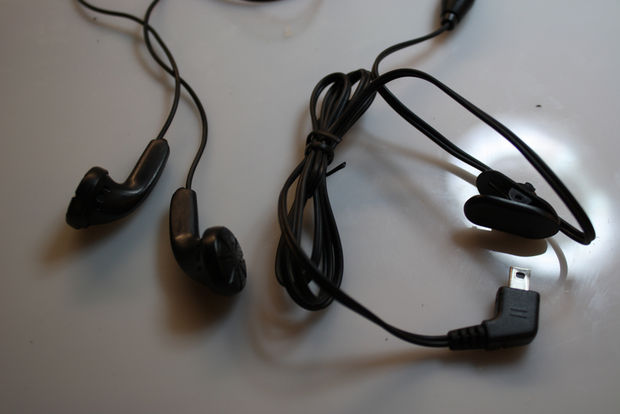
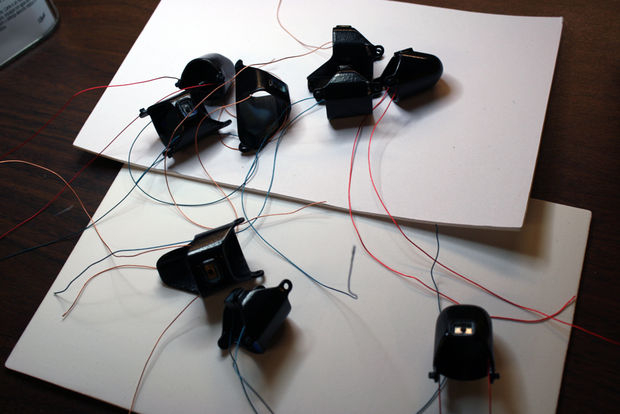


The cell phone you used for this may have some in its external headset that contained more than enough wire for the entire glove. If not easy to find.
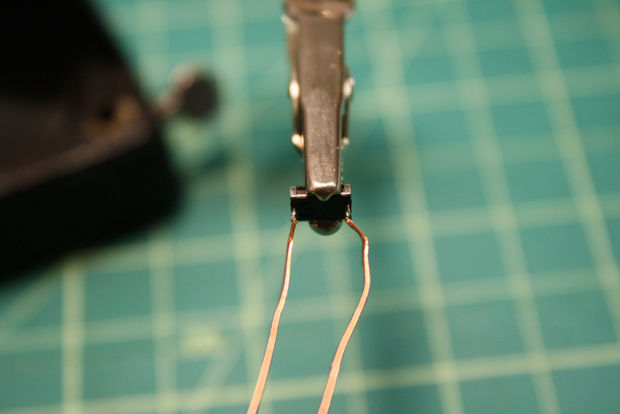
Cut lengths of wire and tinning the ends of each.
After tinning the wires, soldered two wires to each switch:
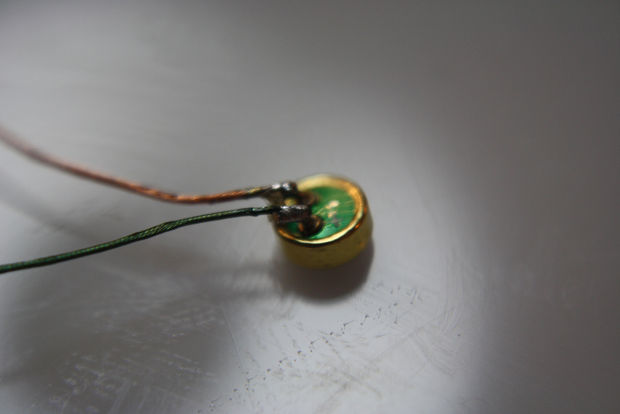
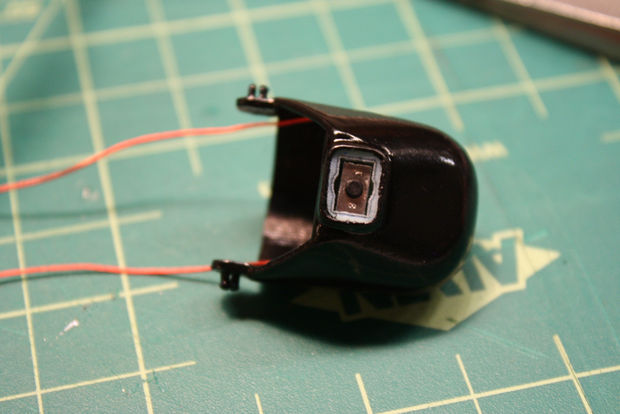
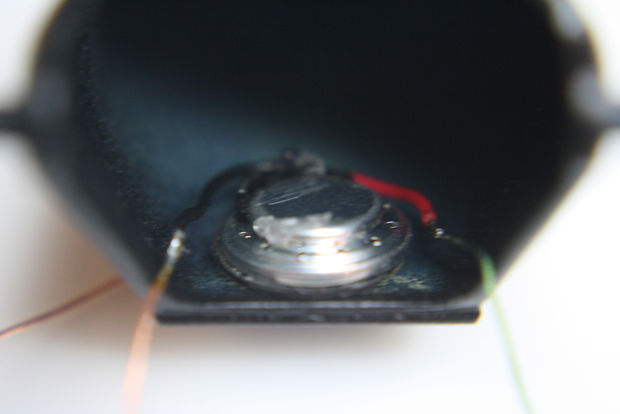
Same for the microphone and speaker. Then,the buttons, mic, and speaker in the housings of the glove.
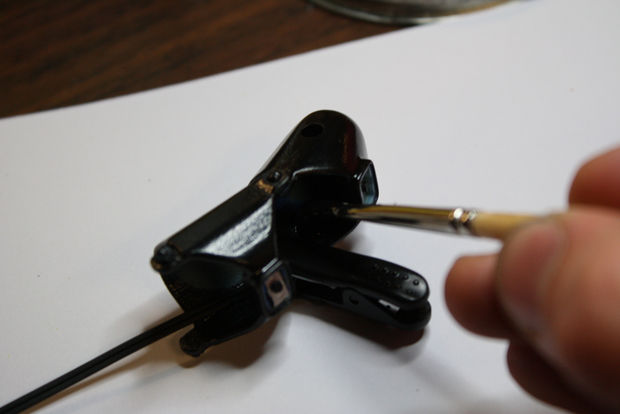
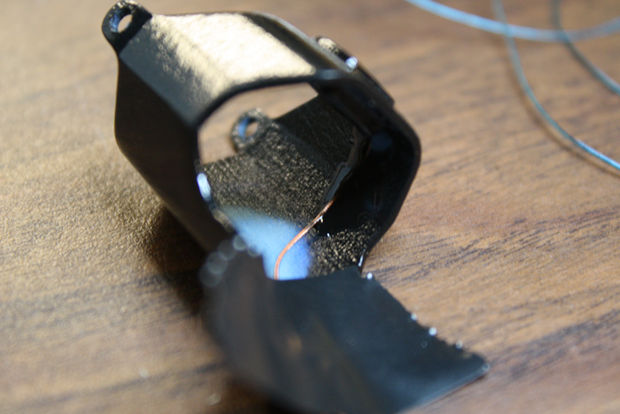
Plasti-dip to secure the wires to the insides of the fingers. The plast-dip keeps the wires neat, and protects and insulates them at the same time. Use for the speaker to keep in place inside the thumb segment.
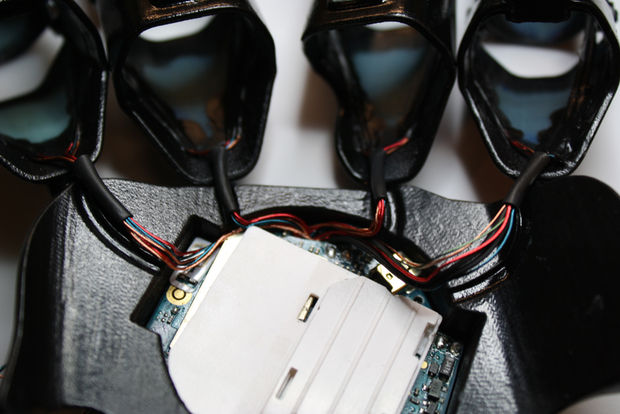
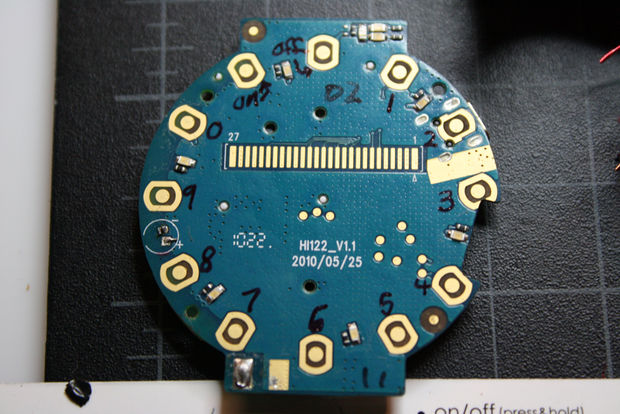
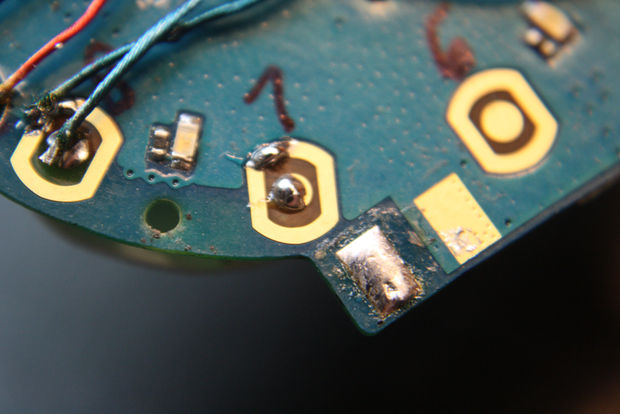
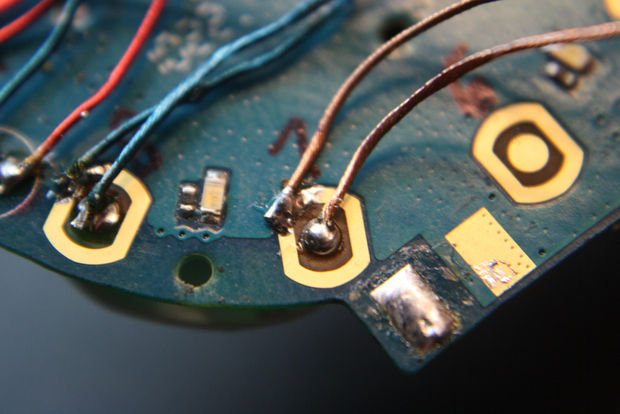
soldered the other ends of the wires to the phone’s circuit board.
I started by putting little solder blobs on each contact, then sunk the tinned wire ends into the blobs:
I soldered another wire to the antennae contact, and soldered that to a small piece of copper foil. This bit will serve as the phone’s antennae.
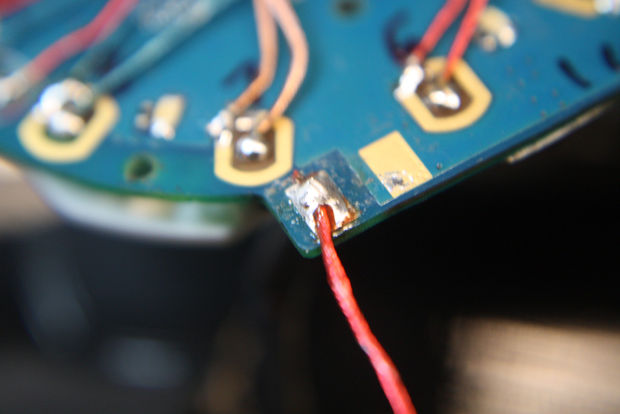
The last bit of wiring was hooking the battery back up to the cell-phone circuit. headphone wire for this, solder the POSITIVE and NEGATIVE wires to the correct leads.
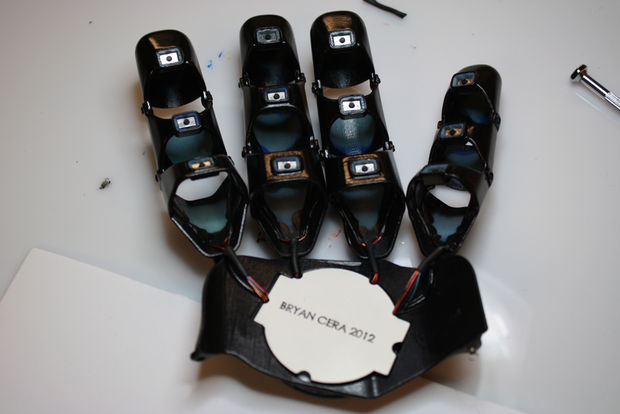
Step 9Final Assembly.
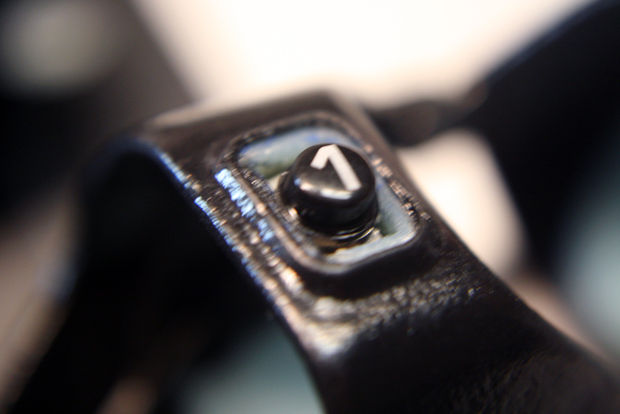

Here’s a video demonstrating the button assemblies of each finger segment:
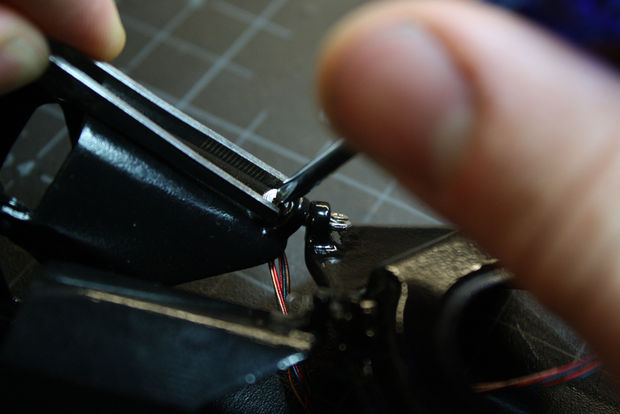
To attach the fingers to the hand plates via the tiny extensions springs, use dental floss to pull the tiny springs through the mounting holes on the 3D-printed pieces:
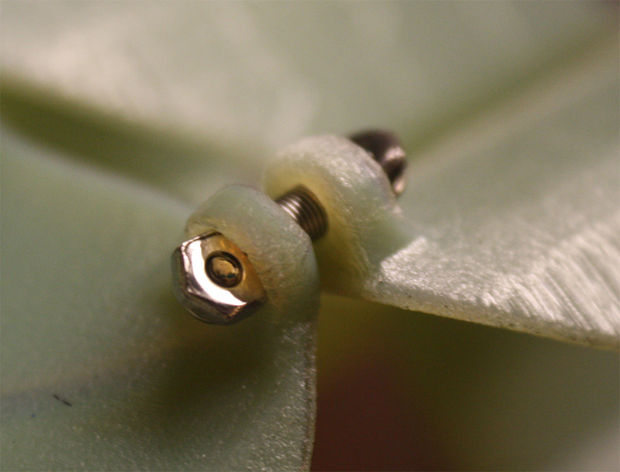
Finally, use tweezers to hold the micro-nuts in place while screwing the micro-bolts into them through the loops of the extension springs.
Now that everything is snapped, soldered, bolted, in place, it’s time to fire it up
Step 10Glove One: Demonstration


Full credit to this man I simply loved the idea check him out!
VIEW FULL DETAILS AT https://bryancera.com.
We represent multiple major corporations and they are available for references. [email protected]
www.ownsocialmedia.com
www.monopolizesocialmedia.com
https://www.facebook.com/MonopolizeSocialMedia
https://plus.google.com/u/0/+JustinMatthewSocialMedia/posts
https://plus.google.com/u/0/+Monopolizesocialmedia/posts


